Before you start
To make a Story Map Tour℠, you first need to assemble and organize the media (photos or videos) you want to use.
For photos, you can use images of any size and shape, but we recommend landscape orientation (i.e., images that are wider than they are tall). Map Tours generally look best if all the images have the same size and aspect ratio, so your users don't get distracted by differently shaped images as they go through your tour. The recommended image aspect ratio is 4:3.
You have several choices for image storage. You can use images stored in Flickr or Google+/Picasa (but Picasa is no longer accepting new uploads). Map Tour takes advantages of optimizations in how these services store your photos, so you can upload an image of any size and it will load quickly in your story. Map Tour also automatically reads in geotag information from the images to locate them on your map, and uses any title and caption text stored with the images. If your images don't have location information the Map Tour Builder will let you specify their map location interactively.
If you are using an ArcGIS subscription account with Publisher privileges, you have the additional option of uploading your image files from your computer directly into the Map Tour Builder, where they will be stored in the cloud with your map. This is a convenient option if your images aren't already online, or if you are creating a Map Tour that will be shared only inside your organization using images that you don't want to be accessible publicly.
You can also reference images that are on the web directly via their URLs. If you do this make sure the image file sizes aren't too large, because this can slow down performance. See the Story Map Tour FAQs for our image size recommendations.
A Map Tour can use videos instead of images, as well as both images and videos. The Builder can access videos stored in a YouTube account directly, or you can specify URLs to individual videos in YouTube, Vimeo, and so on.
You'll include the names and captions for the photos and videos in your Map Tour directly in the Builder. Alternatively, if you want to prepare everything ahead of time, you can make a spreadsheet containing the names, captions, locations, and media URLs that define your Map Tour, and import that spreadsheet into the Map Tour Builder as a CSV file. The Builder lets you download a template you can use to create this spreadsheet.
The text you use for captions for your Map Tour's points and the subtitle in its header can contain HTML tags if you want to specify additional text formatting and hyperlinks. For example, you might want each caption to include a photo credit in italics.
Start the Story Map Tour Builder. You can use a free, non-commercial ArcGIS public account or an ArcGIS subscription account.
Alternatively, you can start in the ArcGIS Online website, and create a new web map showing the area and basemap you want to appear in your Map Tour, along with any desired supporting layers, such as trails or boundaries. You can then share that web map, choose the option to create a web app, and choose Story Map Tour from the gallery of applications. The Map Tour Builder starts automatically as you configure the app.
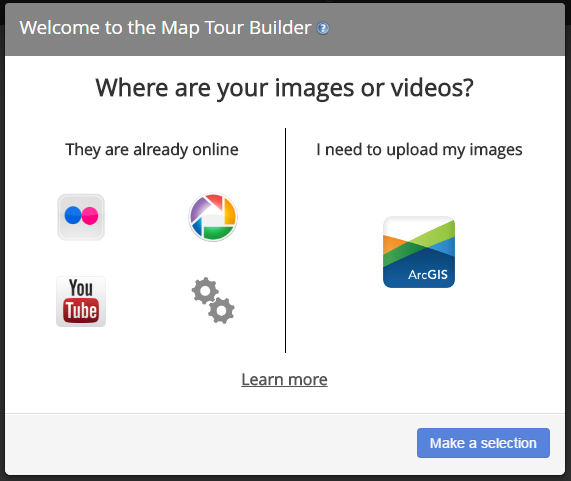
In the dialog that appears when the Map Tour Builder starts, choose the location of your images or videos from the available options. If you're using an ArcGIS subscription account with Publisher privileges, you also have the option to upload your images.
To specify the URLs of your media manually, click the Advanced Options button (the Gears icon), and choose Start a New Tour. For example, choose this option if your images are already stored on your own website or web server.
To define your Map Tour by importing a spreadsheet, click the Advanced Options button, and click the link to download our CSV file template. You can edit this file in Excel or any text editor, such as Windows Notepad. When you're finished, you can use the button on the Advanced Options dialog to import your completed CSV file into Builder.
Follow the instructions that appear for the choice you made in step 2.
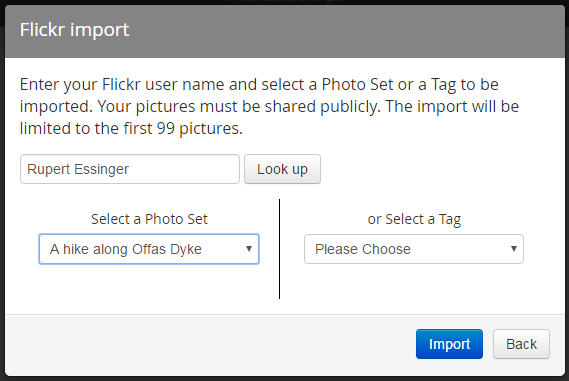
For example, if you chose the Flickr option, you're prompted to enter a Flickr username and select the set of images you want to use by choosing either a photo set or tag.
If you chose the option to upload your images, you're prompted to specify a name for the ArcGIS feature service that the Builder will create for you to store your images.
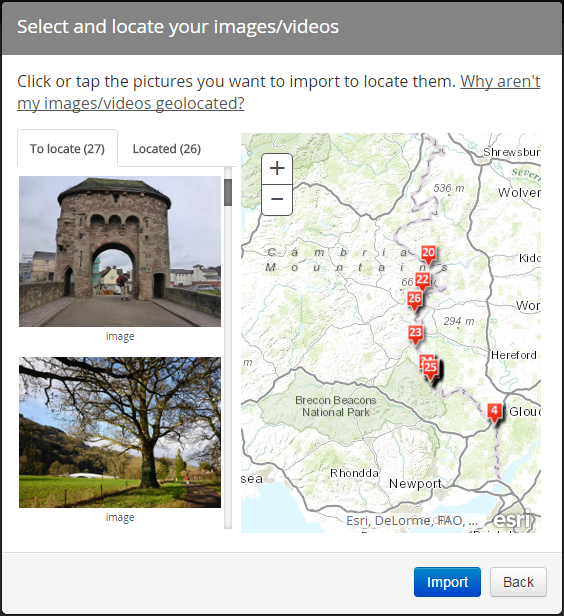
If you're accessing your media from Flickr, Google+/Picasa or YouTube, a dialog appears that prompts you to choose the individual images you want to use and their geographic location. Geotagged media is automatically placed on the map in the dialog. If your media is not geotagged, you can place them on the map interactively. Just click the image or video to select it, and click the map to position it. In either case, you can drag and drop the locations on the map to further modify them before continuing. When finished, click Import.
If you're accessing your media from Flickr, Google+/Picasa or YouTube, the Map Tour Builder is ready for you to enter the caption for each point and make additional changes.
If you chose the options in step 2 to specify the URLs of your media manually, or to upload your images into the Builder, this is where you can start creating your Map Tour. Use the Add button near the bottom of the screen to add your points. The Add dialog prompts you to specify the media, caption, and location of each point.
If you chose the option to import a CSV file in step 2, the Map Tour Builder is ready for you to make additional changes.
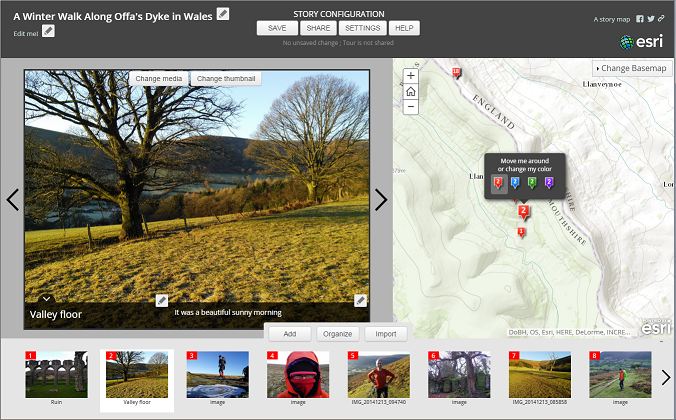
Specify the title and subtitle of your Map Tour by clicking the Pencil buttons in the top left corner.
Optionally, you can change the basemap using the control in the top right corner of the map.
Optionally, you can use the Organize button near the bottom of the screen to manage your points. It also gives you the option to specify that the first point in your Map Tour will be an introduction that is not shown as a geographic point on the map. This option is a good way to provide people with additional descriptive text about your Map Tour before they start moving through it.
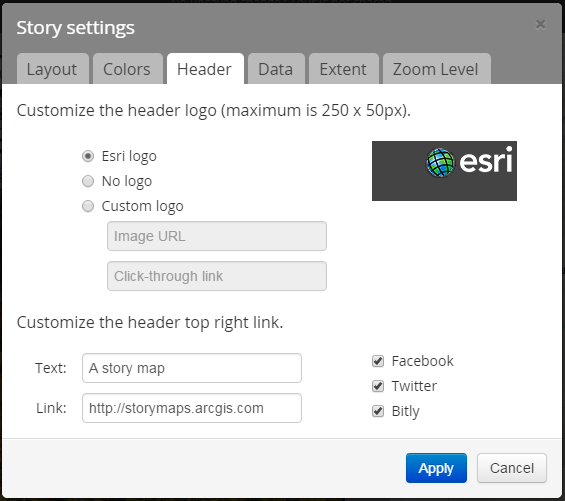
You can customize the appearance and behavior of your Map Tour by clicking the Settings button at the top of the Builder.
For example, the Header tab lets you change the logo that is shown in the top right corner of your Map Tour by referencing your logo graphic via a URL. Using your own logo is important because it adds authority to your story and shows people who created it. Be sure to specify a URL that your readers will be taken to when they click your logo, so they can find out more about your organization.
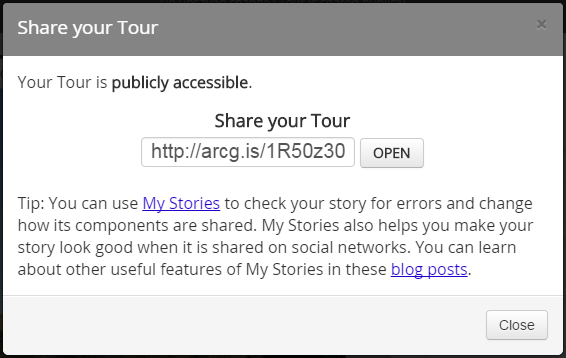
Click the Save button at the top of the Map Tour Builder, and click Share. You can make your Map Tour publicly accessible or, if you're using an ArcGIS subscription account, you have the option to share it so it is accessible only within your organization.

After you share your Map Tour, click Open in the Share dialog to launch it, or copy the shortened URL that is shown in the dialog so you can paste it into email, social media, or as a link in a website or blog.
Congratulations, your Map Tour is now operational!
To make further changes to your Map Tour, you can launch it, and click the Switch to Builder Mode button you'll see in its header. (That button is only present when you are signed in to ArcGIS Online with your account: other people won't see it).
To manage your Map Tour go to My Stories. My Stories lists all the story map apps you have created that are hosted in ArcGIS Online. It lets you edit your stories, review their content, check them for issues, upload thumbnails for them, etc. For example you can launch and edit the web map used in your Map Tour from My Stories if you want to add additional supporting content to it, such as trails or boundaries.
You can also access your Map Tour and the web map it uses from My Content in ArcGIS Online or your organization's ArcGIS portal.