Before you start
The Story Map Countdown℠ app enables users to explore a series of locations through two different views: an organized list of location names and a map of those locations. There’s also a second map that offers a large scale look at the area around a location, as well as an info panel that presents details (based on the pop-up) about a given location.
The data model for this app is very basic. It is a single table from which the locations map layer and countdown list are generated. The bulk of the work in creating a countdown story is basically in authoring this table.
Once you author your table, use it to create a web map. You then install the application files on a public website or web server and configure the app to point to the web map you created.
Follow the steps below to create your Countdown app. If you need more help or tips, see the README PDF file that comes with the template download.
Note: In many respects, the Countdown app is similar to the Playlist app. Before investing any work, you may want to compare the two apps to ensure that the Countdown app is the most appropriate for your needs.
Download the Countdown template from this location and unzip it anywhere on your computer.
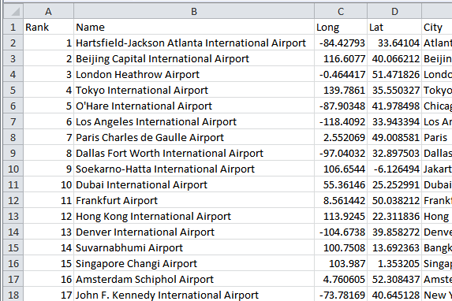
In the \Sample data folder in the download, use the locations.csv file as a template for assembling your locations layer. You are limited to 99 locations in your locations table (this is an icon constraint).
About fields:
- The following fields are required: Rank, Name, Long, and Lat. These fields are accessed directly by the Countdown app.
- Use any other fields in pop-ups (the contents appear in the Countdown app's info panel). These fields are entirely up to your discretion. You’ll notice that these other fields (City, Country, Total_Passengers_millions, Image_URL, Thumb_URL, and so on) are included in the locations.csv file. You can use these fields (where applicable), or delete them and add your own.
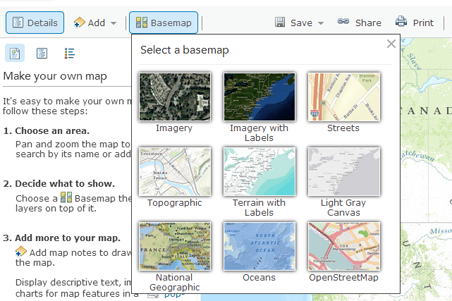
Log into ArcGIS Online using a free public account or an organizational account, and create a new web map. Choose the basemap you want to use.
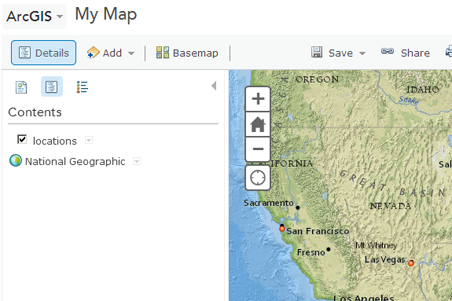
Upload the CSV file for your Countdown locations layer into your map. Do this by dragging the CSV file onto the map, or by using the Add --> Add Layer option from the File menu.
If desired, configure pop-ups for the locations layer. It is recommended that you spend time configuring your pop-ups. Your refinements make your story more effective.
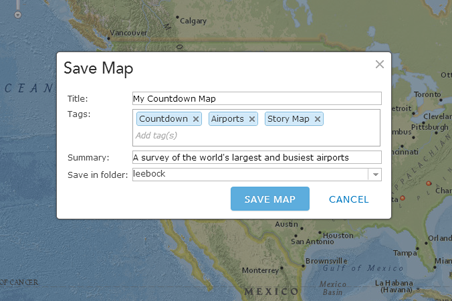
Now, save your map. The title you save your map as is used as the title of your Countdown page, and the summary is used as the subtitle.
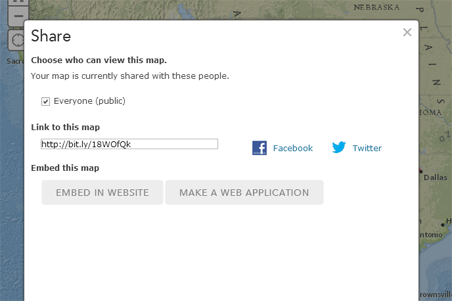
Make your web map public. The Countdown app expects that the web map you use is publicly accessible. Therefore, publish your map by clicking the Share button, and checking the Everyone check box.
Copy the contents of the Countdown template download (minus the \Sample data folder, which isn't needed) onto a public website or web server. This can be a web server that you or your organization maintains, or it can be a folder on a shared or hosted web server that you use for your website. In an enterprise situation, you can have a system administrator load the files onto a server. The location of the template's index.html file on your website or web server defines the URL used to access your Countdown app.
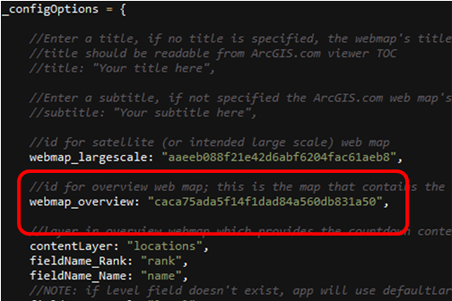
Configure the Countdown app to use your web map by editing the config.js file. Open this file in the text editor of your choice. Edit the webmap_overview variable to be the ID of your web map. You can copy this ID from the URL used to access your web map. Save the config.js file.
Note that you can also supply your own webmap_largescale. For a discussion of the large scale map and its role in the application, refer to the README.pdf in the download.
Congratulations, your Countdown app is now operational.